
Project:
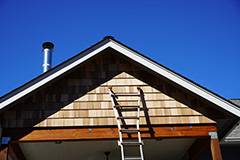
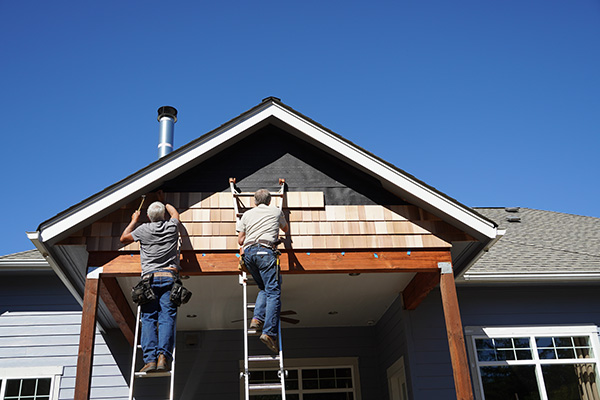
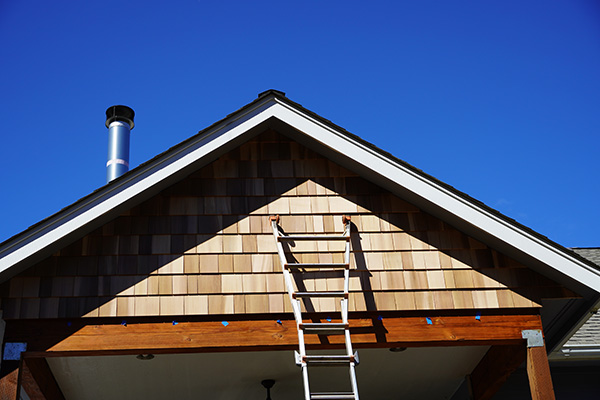
Shakering a Gable
Adding cedar shakers to a gable on your home creates a unique yet timeless look. See how easy it is to complete this weekend DIY project using Shakertown Craftsman Shingle Panels and a few common tools and materials.
Available at Lowe’s stores throughout Georgia.


- Saw
- Speed square
- Pencil
- Hammer
- Utility knife
- Level
- Measuring tape
- Stapler
- Non-hardening silicone caulk
- A trim board (such as a 1x2 cedar)
- Shakertown Craftsman Shingle Panels
- Building Paper/Moisture Barrier
- 1-3/4" Galvanized Roofing Nails
- Measure half the width of the base of the gable (A)
- Measure the height of the gable (B)
- Multiply A times B for square footage (C)
- Multiply C times 1.10 for a 10% waste factor
- Divide your square footage from step 4 by 4.6 to determine the total number of panels to purchase for your project.

Step-By-Step instructions:
Step 1
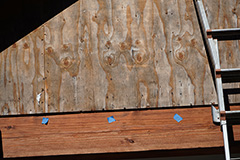
Locate and mark your stud location behind the plywood sheathing. This is easily identified by the lines of nails in the sheathing. This helps assure you nail through the sheathing and into the wood studs for maximum strength.

Step 2
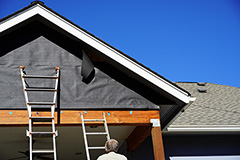
Install building paper/moisture barrier with stapler or tack hammer. The headlap (overlap on the top edge) should be a minimum 2”. The side lap (if needed) should be a minimum of 6”. Always work from the bottom up so the upper piece overlaps the lower piece.

Step 3
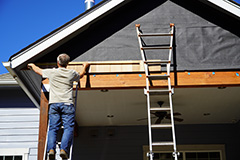
Measure your gable angle. This determines the angle you will cut your Craftsman Shingle Panels.

Step 4
Determine your first row location and mark a level line for your first course of Craftsman Shingle Panels.
Step 5
Cut the left side of the first Craftsman Shingle Panel to match the gable angle. Place this on your level line, leaving an 1/8” expansion space against the gable soffit. Nail on the nail line through the sheathing into the studs, every 16” to 24”. If you miss a stud just place another nail an inch apart. With the blind nailing feature, you can’t “over nail.” TIP: Pre-set a couple nails on the nail line first makes it easier to start nailing up the panels.

Step 6
Measure and cut the adjacent panel, allowing a 1/16” joint between panels and 1/8” joint at the end of the gable. Nail as you did the first panel.
Step 7
The next row or course of Craftsman Shingle Panels will automatically level with a 1-1/8” overlap. Continue up the gable wall, following the nailing and spacing recommendations in step 5.
Step 8
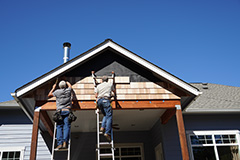
When you reach the peak, the final piece may require face nailing. We recommend a galvanized or stainless steel siding nail.
Step 9
Caulk the 1/8” joint against the soffit with a non-hardening silicone caulk. A trim board, like a 1x2 cedar, can be attached with galvanized or stainless steel finish nails to finish new gable makeover.

![]()
![]()
![]()
P.O. Box 400 1200 Kerron Street Winlock, WA 98596
P. 360.785.3501
F. 360.785.3076
1.800.426.8970
© 2021 SHAKERTOWN 1992 INC. ALL RIGHTS RESERVED. PRIVACY POLICY